In my Saturday post, I mentioned that I was going to a Close to My Heart meeting and might share the project we made there. So I thought I'd give it a go.
I don't have any directions, put I do have pictures, so I will give it a go.
This simple May Day basket is sure to be a pleaser come May 1.
 All that is needed is two sheets of paper, 6"x12" (cardstock) and 2"x6" (B&T), approximately 7" of ribbon, a little of your creativity and any additional embellishments you might desire!
The first step is to score your 6"x12" sheet at 5", 6" and 7", and then fold it. Fold the outside scored lines so that the ends of the sheet meet, and then fold the middle score line the opposite way. See picture if this confuses you - as I don't know how to explain it any better.
 Then take your B&T paper and use decorative scissors to cut the length of one side. Adhere to top of cardstock (where ends meet).


I don't have any directions, put I do have pictures, so I will give it a go.
This simple May Day basket is sure to be a pleaser come May 1.

The first step is to score your 6"x12" sheet at 5", 6" and 7", and then fold it. Fold the outside scored lines so that the ends of the sheet meet, and then fold the middle score line the opposite way. See picture if this confuses you - as I don't know how to explain it any better.


The next step is to stamp your images - whatever you desire - onto your basket. This is what we did.

And then go ahead and color them in or embellish them. I used watercolor pencils and the waterbrush to color my flowers and my pot, and then put mini sparkles in the middle of my flowers. You may use whatever stamps and such you desire - or even stickers or hand-drawn images.
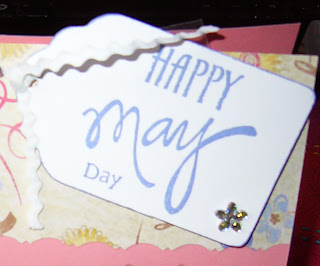
If you desire a tag, now you will make one of those, and stamp Happy May Day on it.

Punch a hole in your tag and feed your ribbon through it. Next, fill your candy bag with candy and put it inside your basket, lining up the top of the bag with the top of the basket. Punch two holes in the top of the basket and the bag. String ribbon through tag, front of basket, through bag and out the back, and then feed it back through to the front. Tie ribbon.

Voila, you're done! Happy May Day! Please e-mail or post a comment if you have a question. Happy Monday!

Comments
Post a Comment