I've got another idea for a graduation gift! I just finished it this morning, which is why I hadn't posted it yet.
It is another type of box. It is a My Creations Memory Keeper Box, from Close to My Heart. I have made two already that I am giving for graduation gifts, and then I've got two more to make.
I will try to run down the directions here, but it would probably be easier if you'd contact me and we could set up a workshop! I might actually offer it this summer at B Inspired! Let me know if you'd be interested in that. If you want to make one yourself, hop on over to my Web site and order yours today!
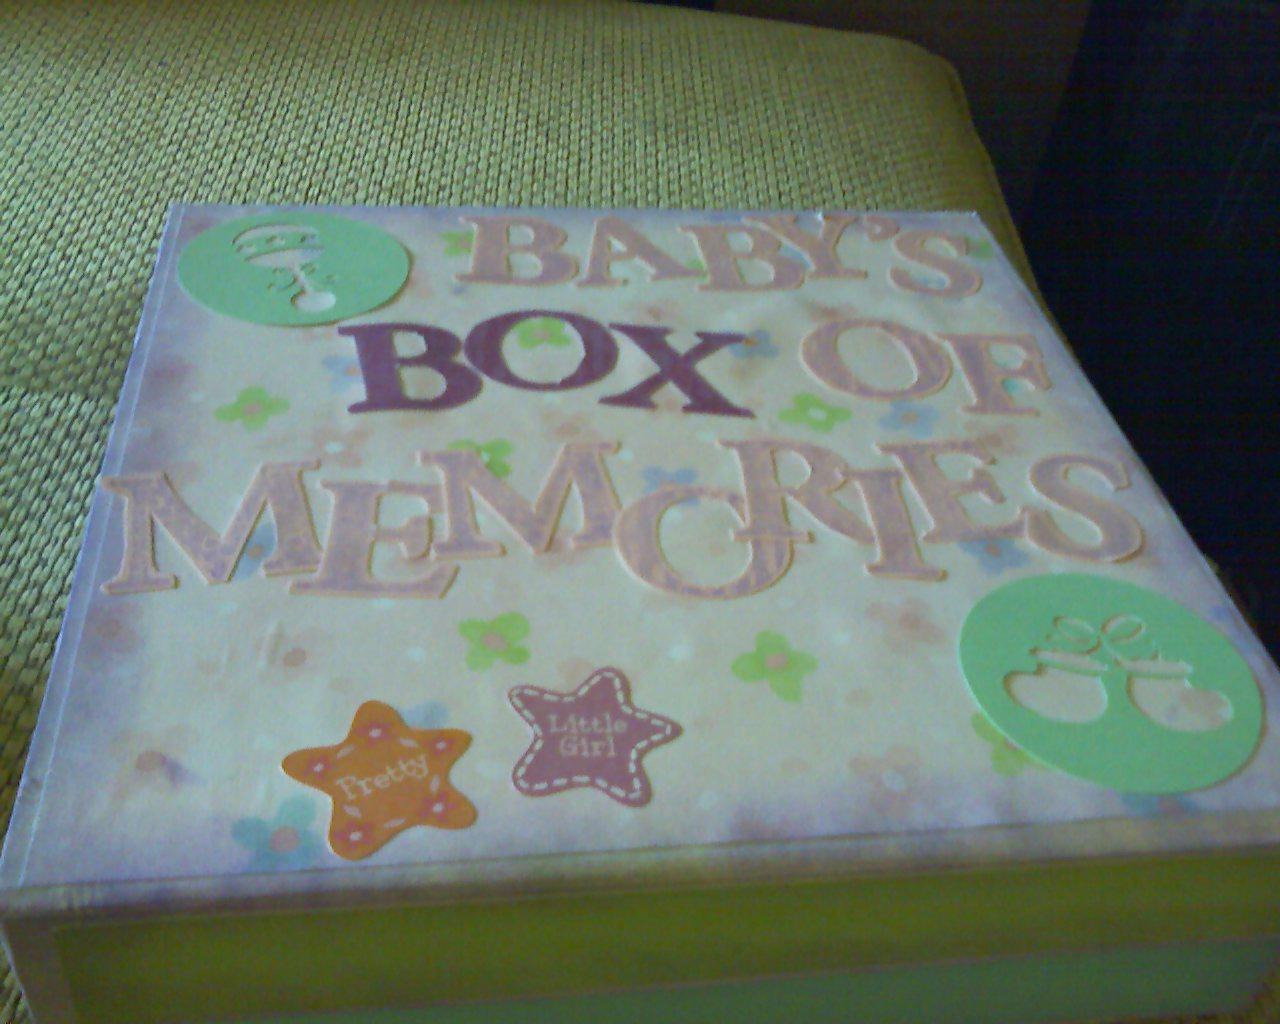
I have also made these for baby gifts; they've been a big hit! My CTMH upline made one as a tribute to her grandmother. They can be used for anything!
A couple of tips: you'll need lots of adhesive ... and actually, in this case, the more you use the better. The paper might bubble a bit, but I think that gives it character. I've also learned that it is quite a bit easier to adhere most of the pieces before you fold up the box (it comes flat). Adhere as many of the pieces as you can before you assemble the box.
I was able to make two graduation boxes out of one CTMH Level 2 Paper Pack. I used Game On. It looks pretty good!
Saturday I am going to teach two girl scouts how to make one of these boxes. I will try to take pictures of them to post. I hope they enjoy it!!
Cut the following pieces:
Using these measurements, there will be about 1/8" of white box border around each side. You can ink them or leave them white.
Top & bottom: 9 1/2" x 9 3/4"
(If making a graduation hat, use these measurements instead for the top: Black hat/border: 10 1/4" x 10 1/2", patterned paper: 10" x 10 1/4")
Back side: 2 3/8" x 9 3/4"
Sides: 2 1/2" x 9 1/4"
Inside Top: 9 3/8" x 9 3/4"
Inside Bottom: 9 3/8" x 9 1/2"
Back, Inside: 2 1/2" x 9 3/8"
Front, Inside: 2 3/8" x 9 3/8"
Sides, Inside: 2 9/16" x 9 3/8"
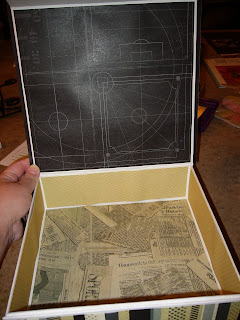
Graduation box: to make the tassle holder in the inside, use a 6"x6" memory protector and then cover it with paper. I added a button and ribbon.
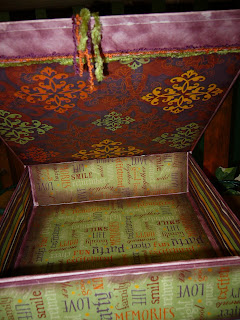
Here are the photos. The first few are of the graduation box, the next two are of a general memory box (using discontinued Enchanted Paper Pack), and the third set are baby boxes (using the discontinued Sweet Peas Paper Pack and then the Animal Cookies Level 2 Paper Pack and the Animal Cookies Creative Basics paper).


It is another type of box. It is a My Creations Memory Keeper Box, from Close to My Heart. I have made two already that I am giving for graduation gifts, and then I've got two more to make.
I will try to run down the directions here, but it would probably be easier if you'd contact me and we could set up a workshop! I might actually offer it this summer at B Inspired! Let me know if you'd be interested in that. If you want to make one yourself, hop on over to my Web site and order yours today!
I have also made these for baby gifts; they've been a big hit! My CTMH upline made one as a tribute to her grandmother. They can be used for anything!
A couple of tips: you'll need lots of adhesive ... and actually, in this case, the more you use the better. The paper might bubble a bit, but I think that gives it character. I've also learned that it is quite a bit easier to adhere most of the pieces before you fold up the box (it comes flat). Adhere as many of the pieces as you can before you assemble the box.
I was able to make two graduation boxes out of one CTMH Level 2 Paper Pack. I used Game On. It looks pretty good!
Saturday I am going to teach two girl scouts how to make one of these boxes. I will try to take pictures of them to post. I hope they enjoy it!!
Cut the following pieces:
Using these measurements, there will be about 1/8" of white box border around each side. You can ink them or leave them white.
Top & bottom: 9 1/2" x 9 3/4"
(If making a graduation hat, use these measurements instead for the top: Black hat/border: 10 1/4" x 10 1/2", patterned paper: 10" x 10 1/4")
Back side: 2 3/8" x 9 3/4"
Front side: 2 1/2" x 9 3/4"
Flap: 1 1/8" x 9 3/4"Sides: 2 1/2" x 9 1/4"
Inside Top: 9 3/8" x 9 3/4"
Inside Bottom: 9 3/8" x 9 1/2"
Back, Inside: 2 1/2" x 9 3/8"
Front, Inside: 2 3/8" x 9 3/8"
Sides, Inside: 2 9/16" x 9 3/8"
Graduation box: to make the tassle holder in the inside, use a 6"x6" memory protector and then cover it with paper. I added a button and ribbon.
Here are the photos. The first few are of the graduation box, the next two are of a general memory box (using discontinued Enchanted Paper Pack), and the third set are baby boxes (using the discontinued Sweet Peas Paper Pack and then the Animal Cookies Level 2 Paper Pack and the Animal Cookies Creative Basics paper).


thanks for this it very nice
ReplyDeletepackers and movers nashik
packers and movers in Mumbai
packers and movers kalyan
packers and movers vashi